
Describe what changed
Tell the team about a replaced dishwasher, cabinet adjustment, plumbing work or recent lifting of the top. Even if the timing is uncertain, a repair history helps separate a one-off filler problem from a recurring movement issue.
Photograph two directions
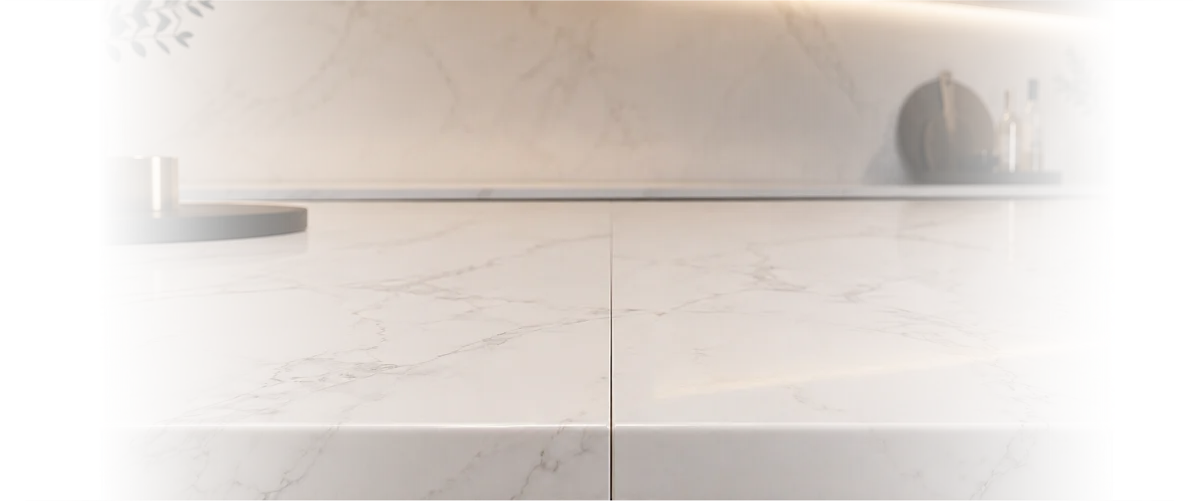
An overhead photograph shows the line and colour; a side-on image can show a step. Include both adjoining pieces in a wider view. A joint hidden by appliances or a draining board can be hard to assess from a single close-up.
Plan the order of work
If cabinets or supports need attention, coordinate that before renewing the joint. Replacing filler over an unresolved movement problem may lead to another failed seam. The written scope should separate re-gluing from alignment or support work.
A useful description of the seam
Say whether a fingernail catches on a step, a dark line is visible, filler has fallen away or the two sections have separated. Those descriptions are more useful than saying the join is bad. Include the approximate length and tell us if water can enter the cupboard below. Avoid adding sealant over the area while waiting for advice.
After the repair
Ask how long the seam must remain dry and free from loading, and pass those instructions to the rest of the household. If the line opens again, photograph the change before attempting another fill. Repeated failure is a reason to revisit the installation and repair history rather than simply choose a different filler colour.
Questions, answered.
What is the next step?
Send photos, your suburb and the relevant material or fitting details. The team will clarify the proposed work, its limitations and the quote before an appointment is agreed.