
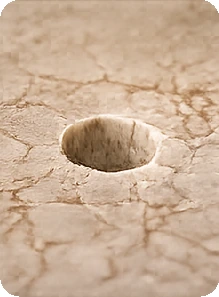
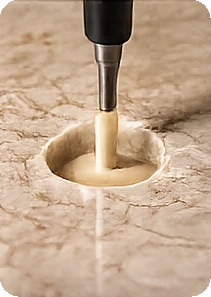
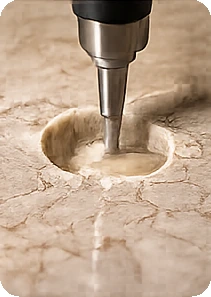
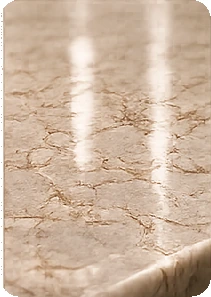
Preparation gives the repair a sound starting point
The repair begins with the damaged stone and its surrounding condition. Earlier adhesive, loose material and surface treatments can affect the proposed work. We prepare the suitable area and explain if a crack, unstable joint or support issue changes the scope. The work area is protected as appropriate to the job.
Colour matching and rebuilding belong together
We select professional repair materials for the stone and damage, considering the base colour, pattern and intended finish. A suitable chip repair rebuilds the missing section; a joint or crack has a different scope. The aim is a carefully blended repair with the appropriate shape, not simply a patch of similar colour.
The edge should follow the original detail
A rounded front edge, small bevel or sink rim needs attention to its profile as well as its colour. We shape and refine the repair in relation to the adjoining stone. Texture and reflected light matter too: an accurate outline helps the finished area sit comfortably with the surface around it.
Finishing that suits the material
Finishing methods depend on the actual stone and repair system. We work towards the agreed blend and explain any remaining difference in colour, texture or sheen. Porcelain and crack repairs remain visible. Sanding engineered stone changes its factory finish; local repair finishing is not a promise to repolish a full engineered-stone benchtop to its original manufactured sheen.
From first photos to final handover
Send clear damage photos, the material if known and your suburb for a written quote. Before the visit, clear the agreed work area and confirm access. After the repair, follow the specific timing for use, cleaning and loading. The team explains any separate film, support or other trade work included in the plan.
Questions, answered.
Is the process identical for every material?
These four stages describe the general repair approach. Preparation, materials, shaping and finish are adapted to the stone, damage and agreed scope.
What if a repair will not provide a suitable result?
We explain the limitation and discuss alternatives, which can include support work, a different treatment or replacement. A cosmetic fill is not automatically the right answer.